Guide · Clinic setup
Setting up your clinic in Doxtor
What happens between joining Doxtor and placing your first order: the invitation, the setup guide and the settings worth checking first.
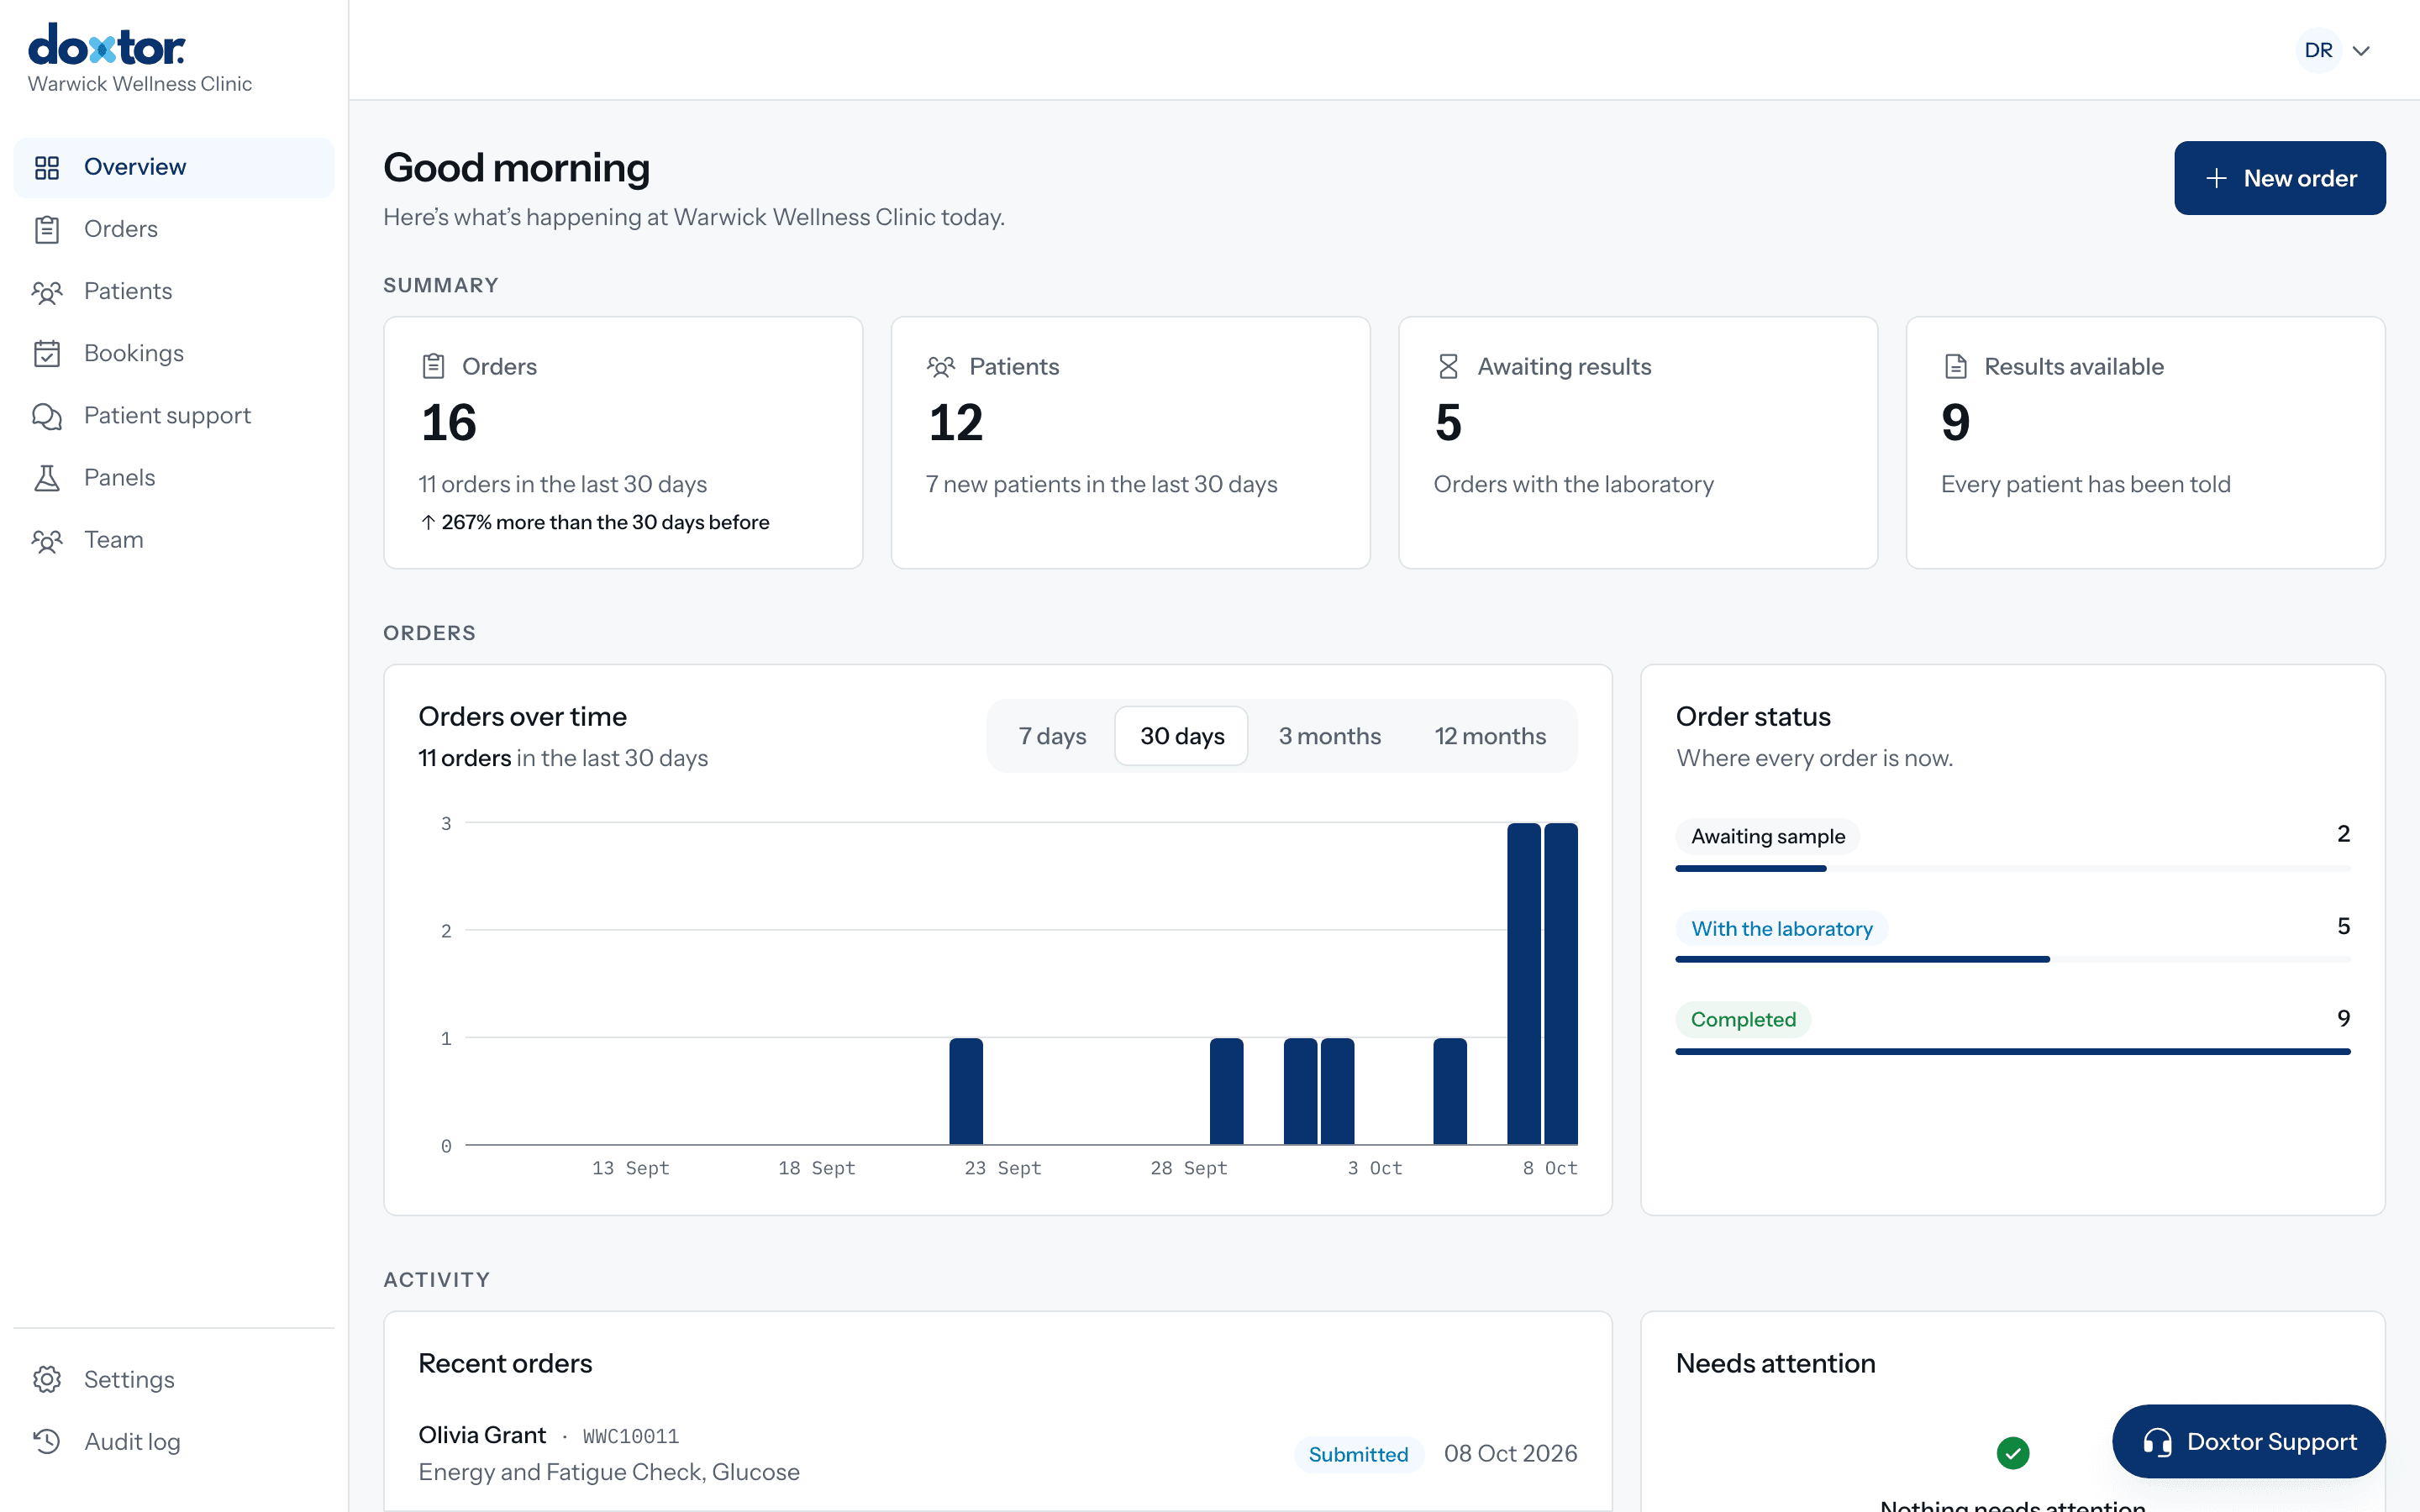
Doxtor creates each clinic’s workspace itself, so a new clinic starts with its own address and an owner ready to sign in. This guide covers what happens next.
1. Accept the invitation
Doxtor emails your clinic’s owner an invitation. Open it, enter the verification code sent by email, and choose a password. You then sign in at your clinic’s own Doxtor address. If you lose track of it, find your clinic’s sign-in.
2. Work through the setup guide
The first time the owner signs in, a setup guide takes them through the essentials, in order:
- Profile. Your name and details.
- Secure your account. Two-factor authentication with an authenticator app.
- Business details. Your clinic’s contact details, which patients see.
- Invite your team. Each person gets their own sign-in and a role.
- Payment method. The card your clinic’s weekly invoice for orders is charged to. A payment method is needed before the first order.
- Branding. Your logo, icon and colour. Patients see them on Doxtor Pro.
3. Check your panels
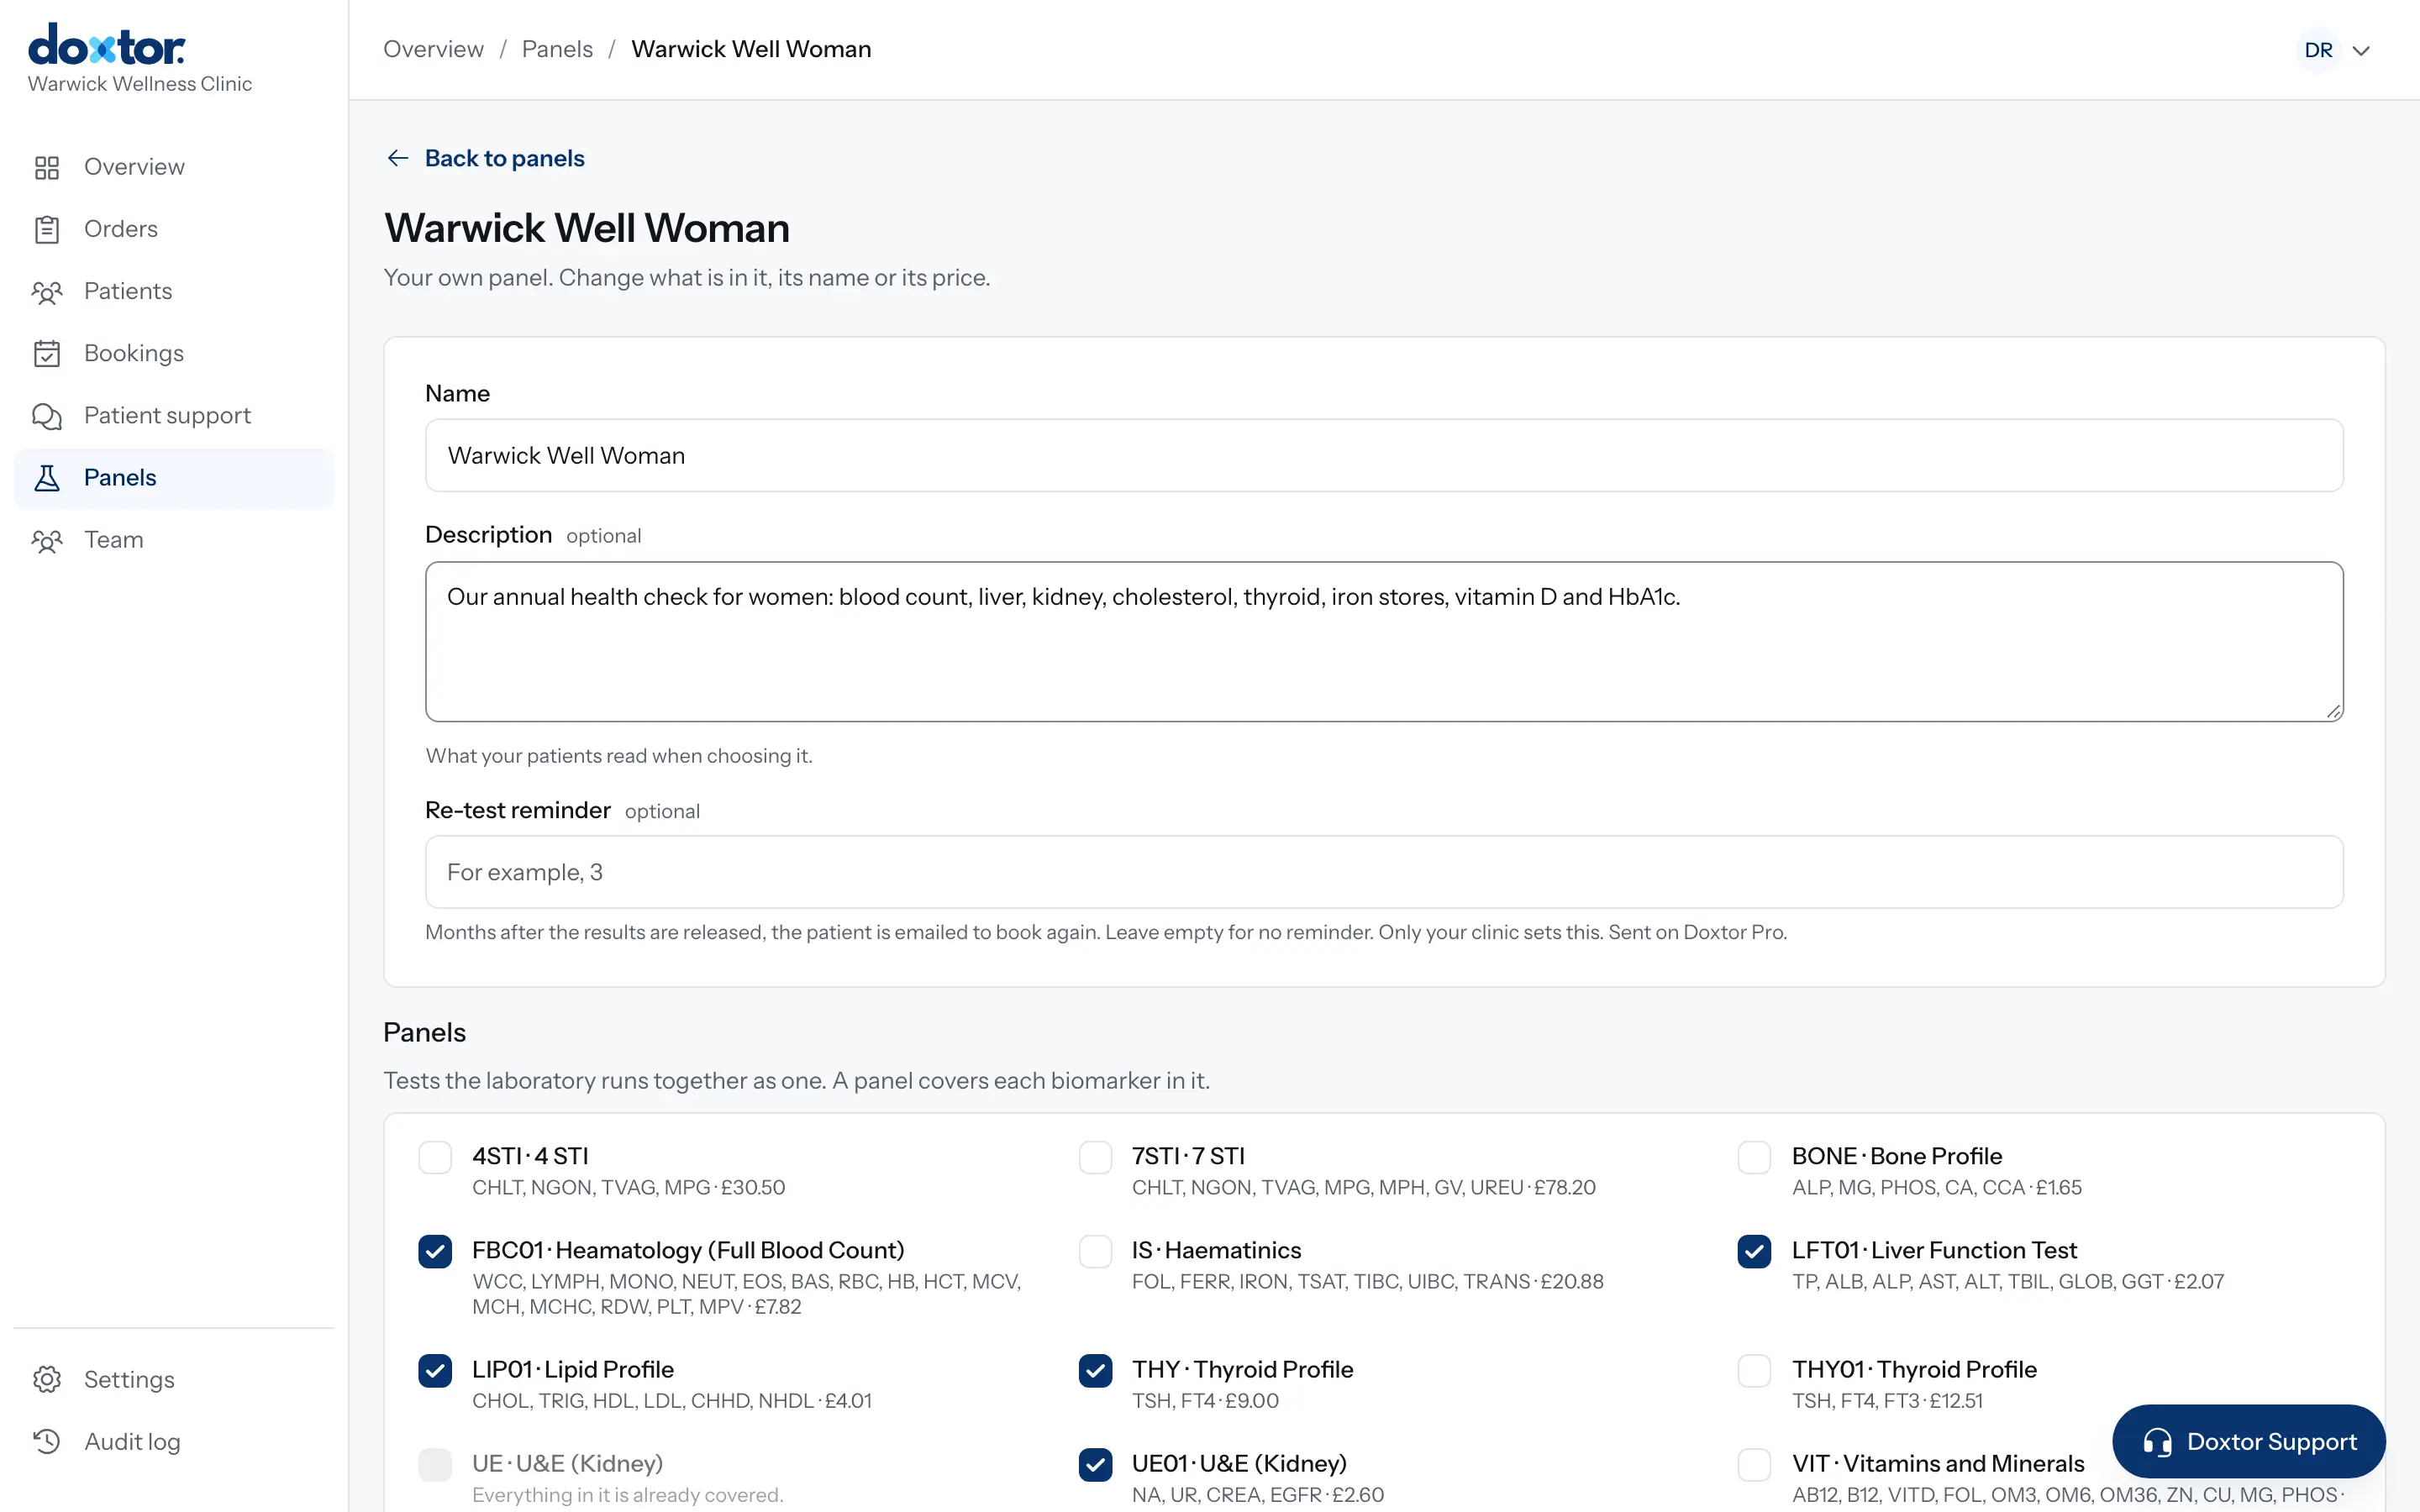
Under Panels you will find the laboratory’s panels and any panels of your own. If your clinic sells the same combinations of tests again and again, build them once as your own panels, with your name for each and a description patients read. They are then ready on every order. See custom panels.
4. Place your first order
You are ready. Placing your first order walks through it step by step.
Getting help
Inside the console, the Doxtor Support button reaches Doxtor support from any screen. Before you join, contact Doxtor.
Related resources
Inviting your team and choosing their roles
Give everyone at your clinic their own sign-in, and a role that decides what they can see and do, from booking patients to reading results.
1 min read
Building your own panels
Put the tests your clinic offers together once, as named panels with a description for patients, and order them in one click from then on.
1 min read
Giving patients access to the patient portal
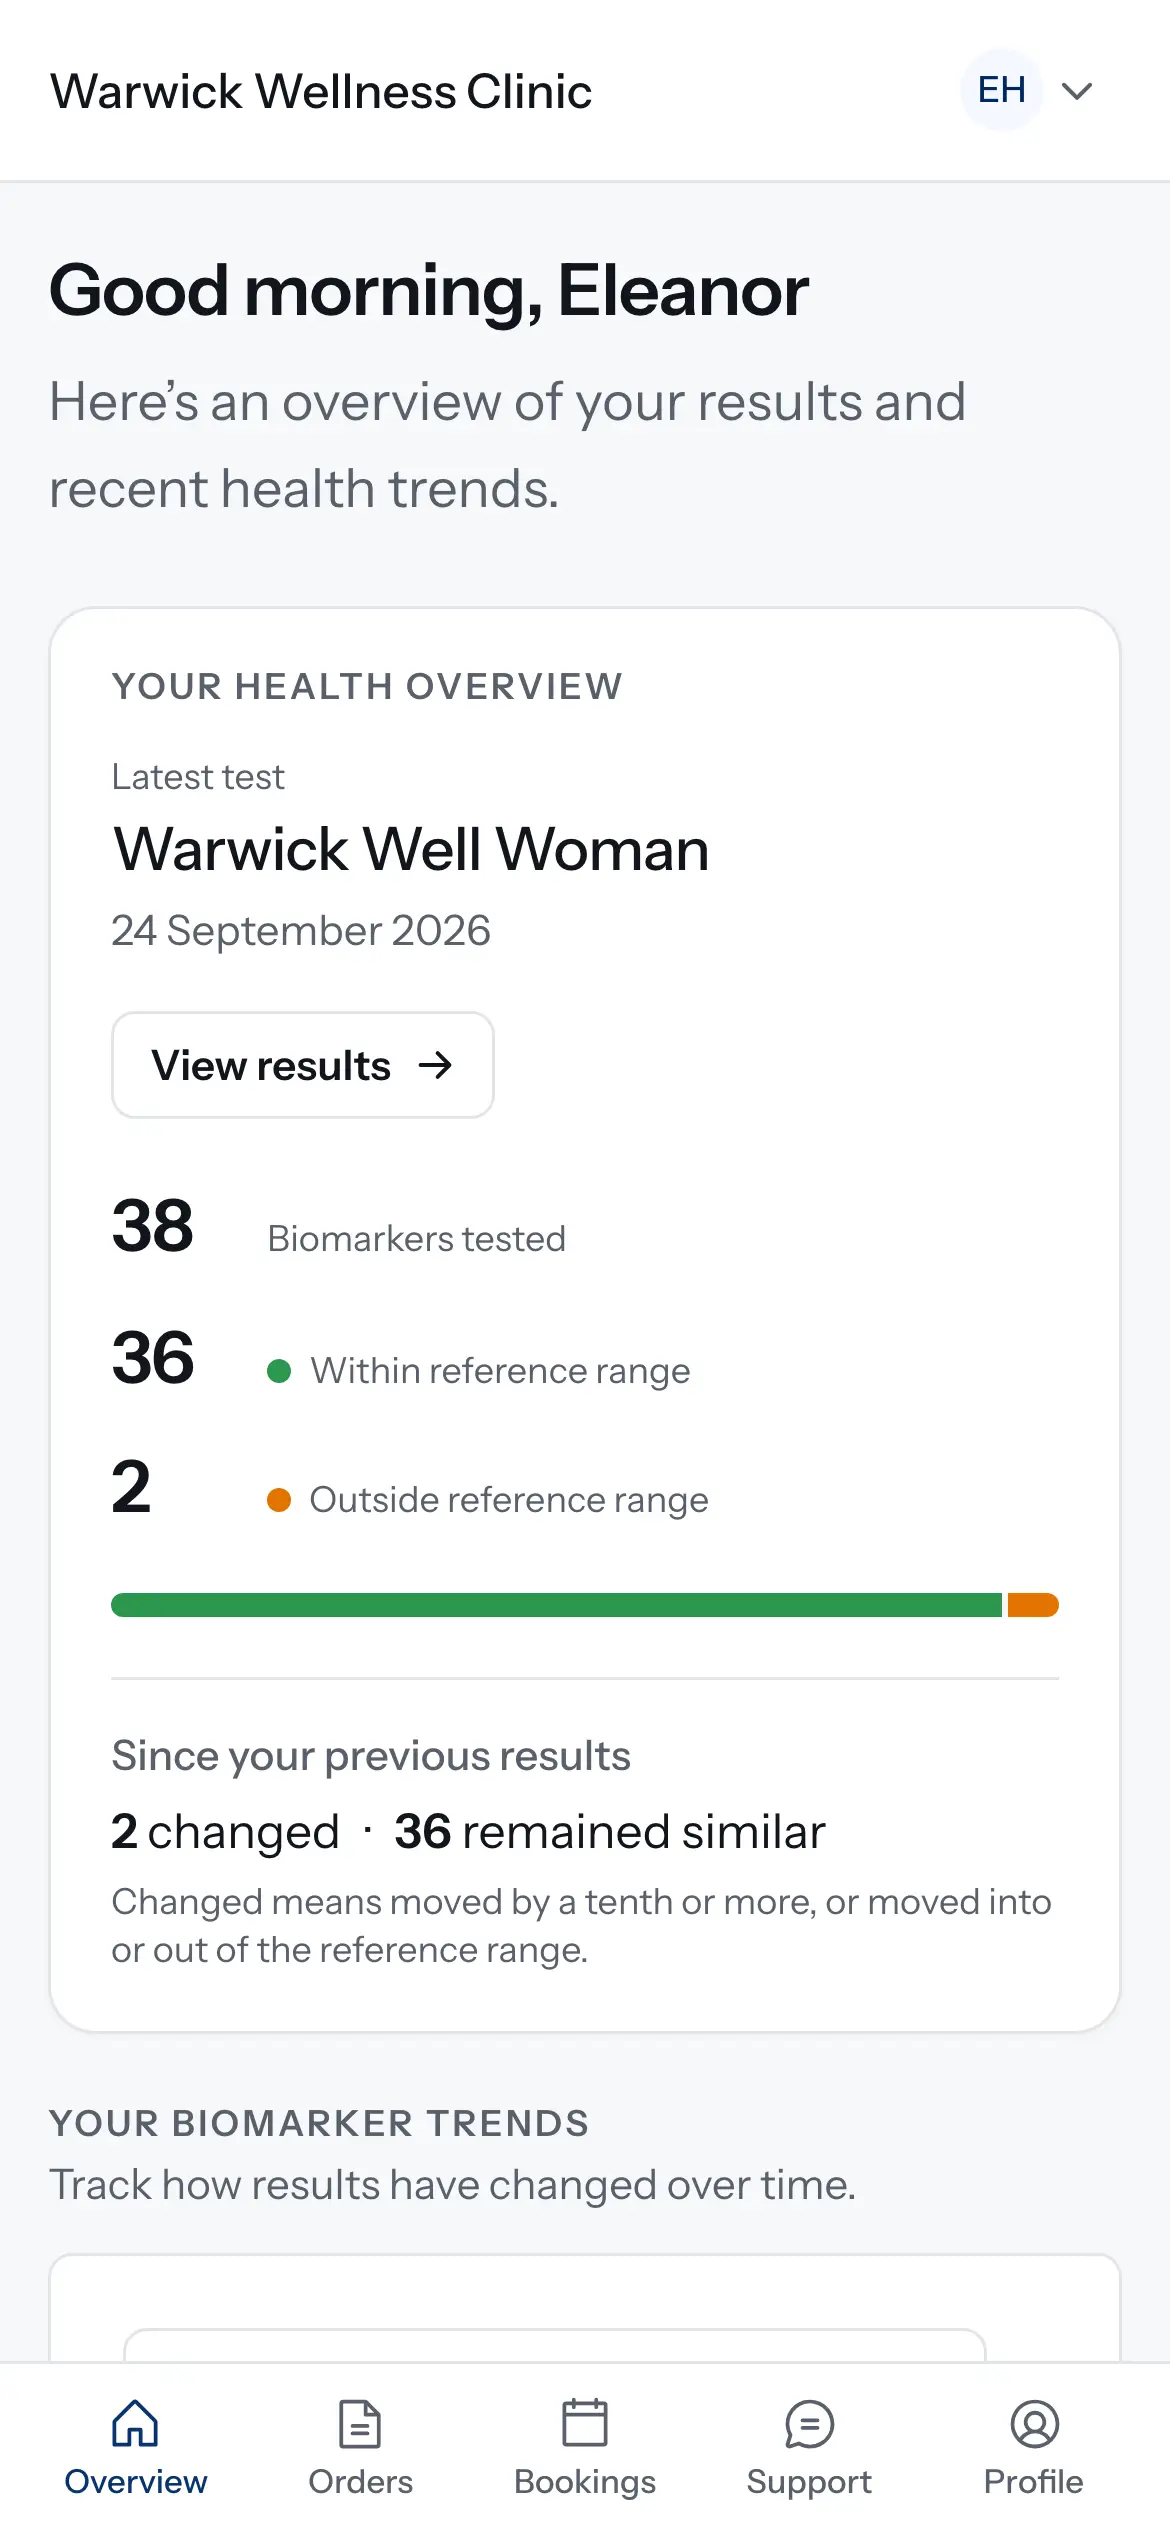
Invite a patient, or a parent or carer, to your clinic's patient portal, decide whether they can book tests, and take access away when it should end.
1 min read