Guide · Sample collection
Labelling and sending samples to the laboratory
What to do after collection: label every sample with the order's barcode, package them as the laboratory asks, mark them as sent, and follow them to the laboratory.
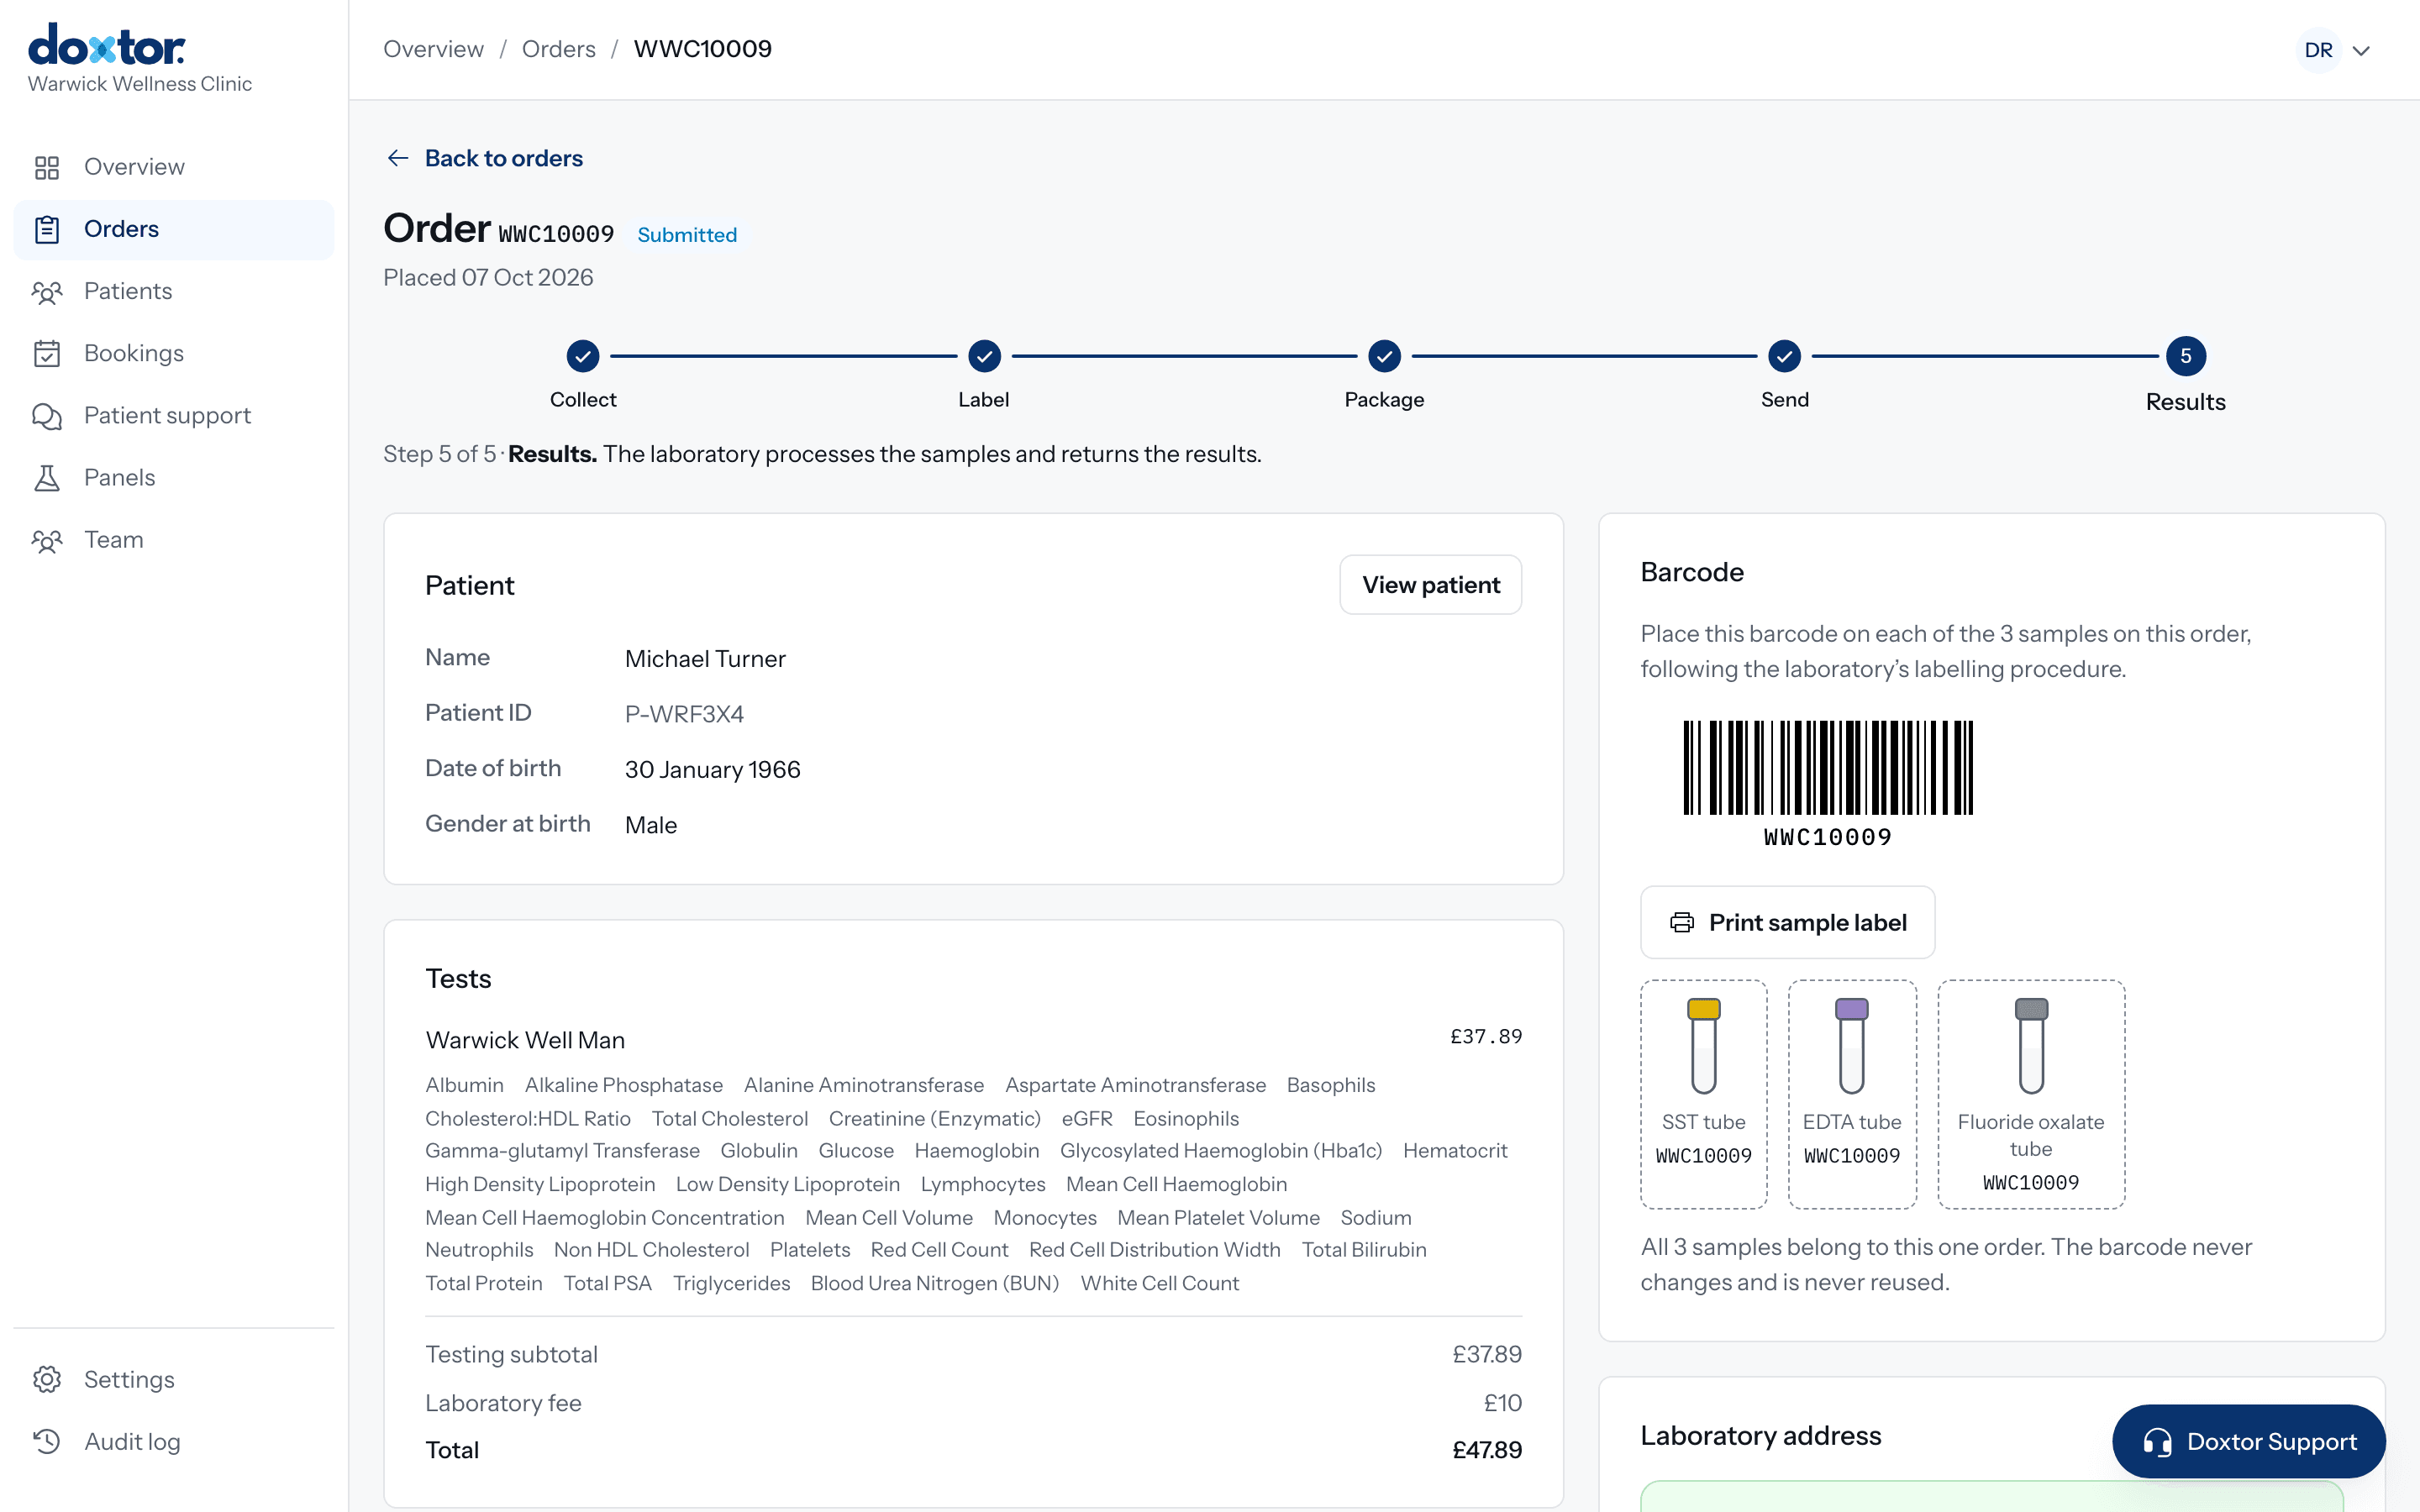
Once the samples are collected, the order page shows what is left to do, in order: Collect, Label, Package, Send and Results. This guide covers the middle three.
Label
Choose Print sample label. The label carries the order’s barcode, which is the order’s own number. It is printed once for each sample on the order, so every tube or container belongs plainly to the one order. There is no separate barcode to look up or match.
Package
The order shows the partner laboratory’s address and its packaging and dispatch instructions. Package the samples as it asks. Where the laboratory has provided a “what happens next” video, it plays on the order.
Send
Send the samples, then choose Mark as dispatched on the order and confirm. Marking samples as sent records that they have left your clinic. It does not mean the laboratory has them: the order shows that separately, when the laboratory confirms receipt.
Reminders
If samples have been collected but not marked as sent, the team members who handle samples are emailed: two hours after collection and again at six hours. For samples that keep for a shorter time, the reminders come sooner. They stop as soon as the samples are marked as sent, the laboratory has them, or the order is cancelled.
Cancelling an order
An order can be cancelled from the clinic until the laboratory has it, may have it, or the samples have been marked as sent. After that, the laboratory has to be told directly.
Results
The order shows when the laboratory receives the samples, and the results arrive on the order when the laboratory reports them. See how results reach your patients.
Related resources
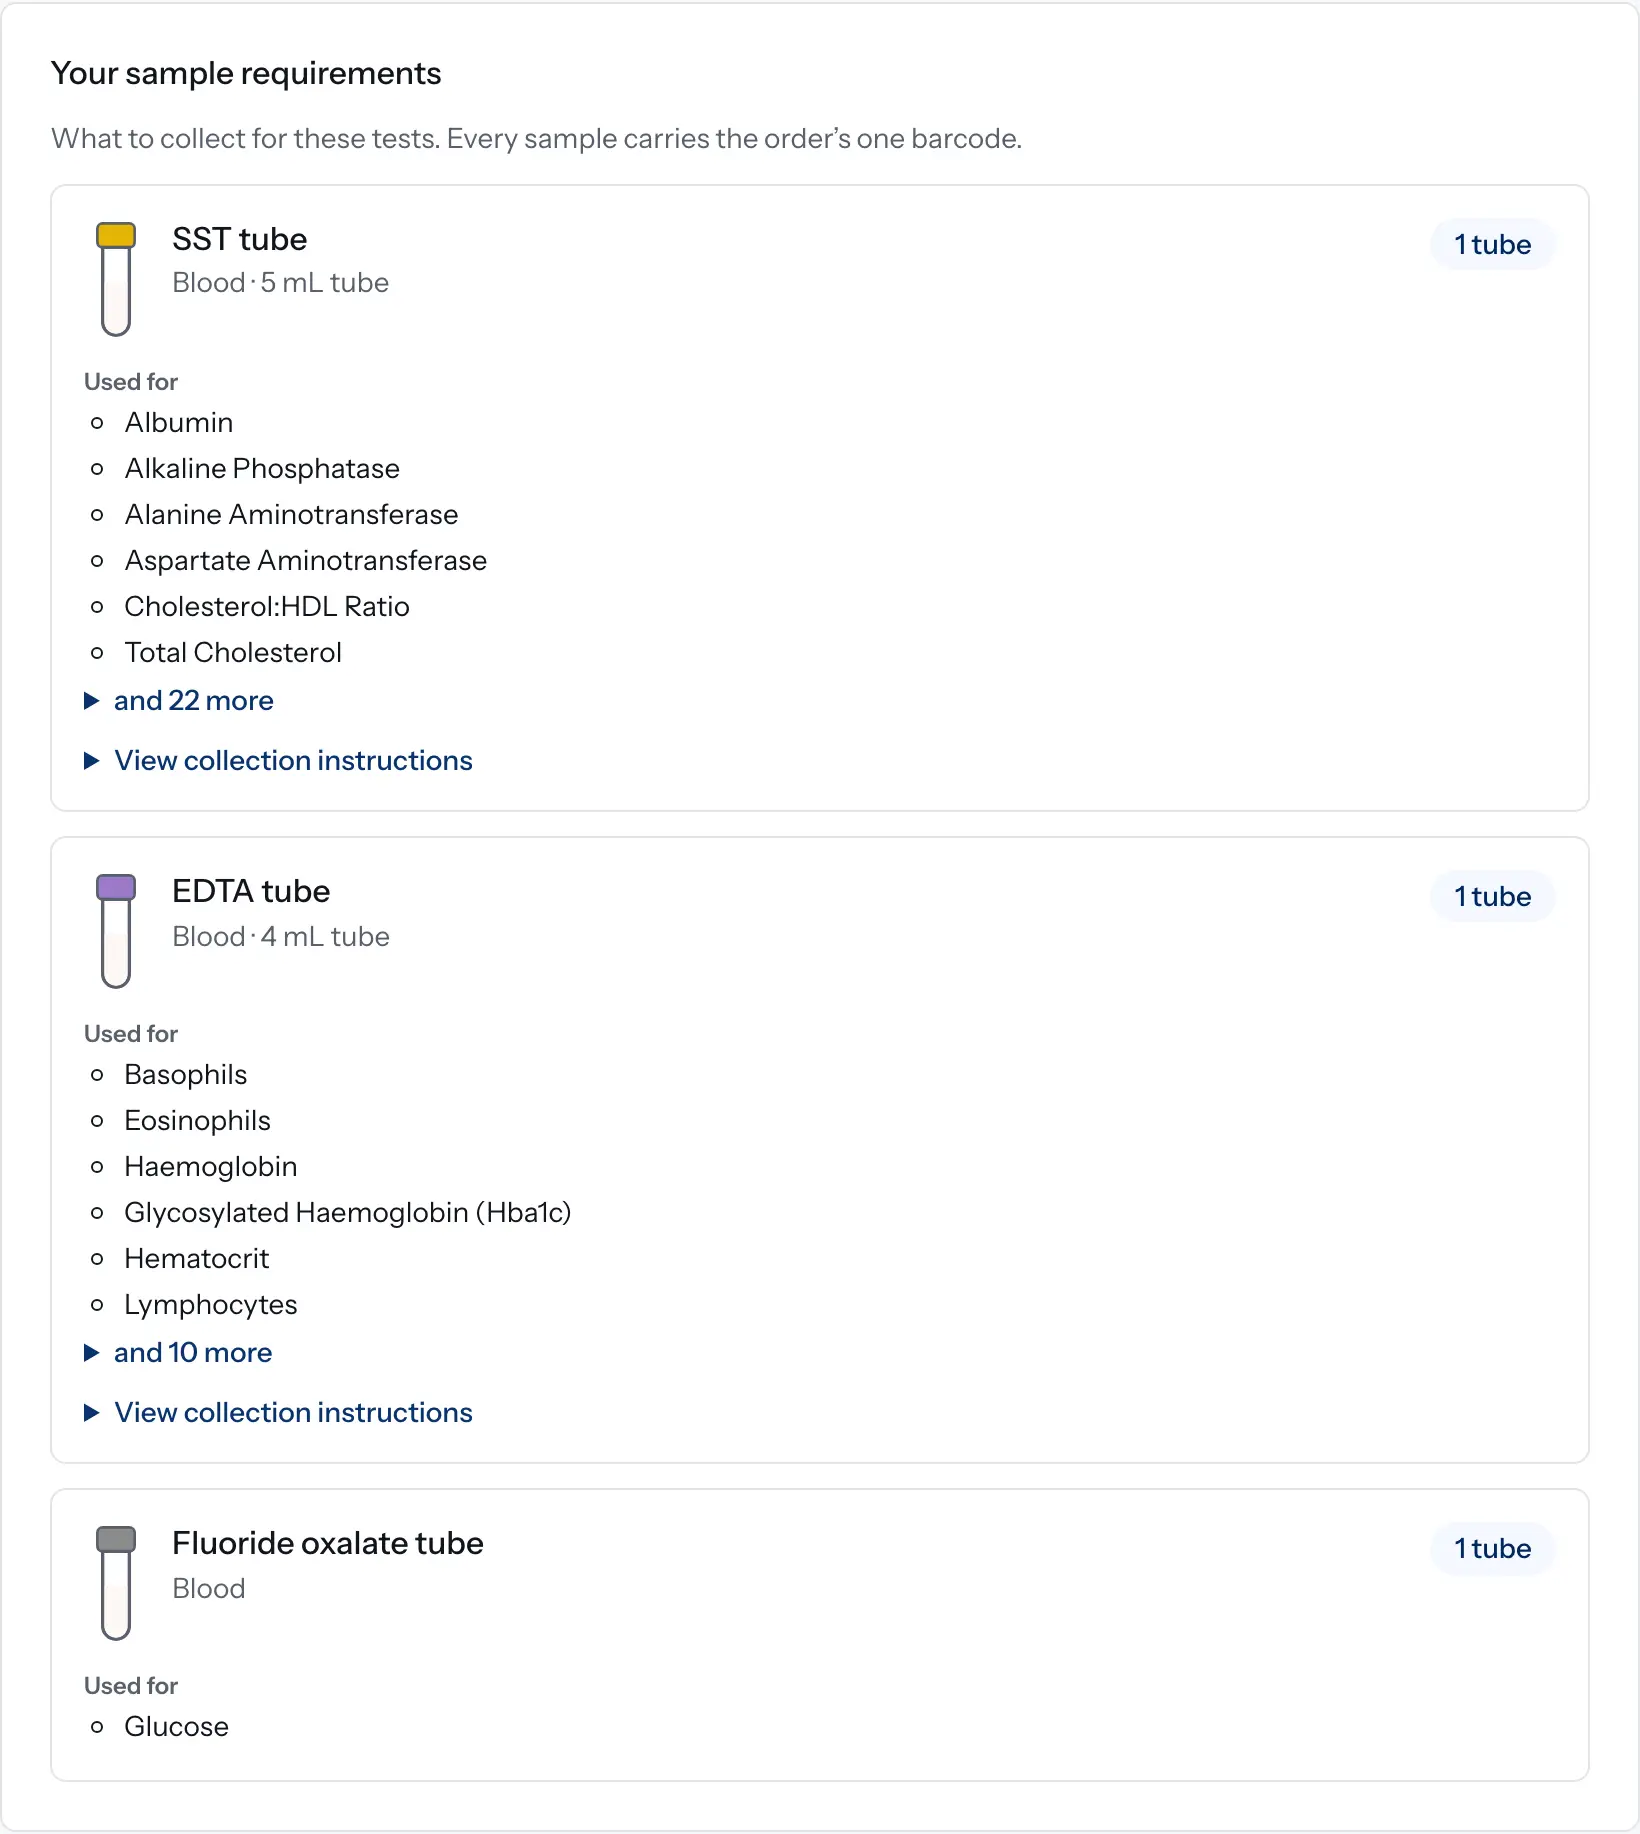
How sample requirements are worked out in Doxtor
How Doxtor turns the tests on an order into a list of tubes and containers to collect, and when it shows a volume. Educational information, not clinical advice.
2 min read
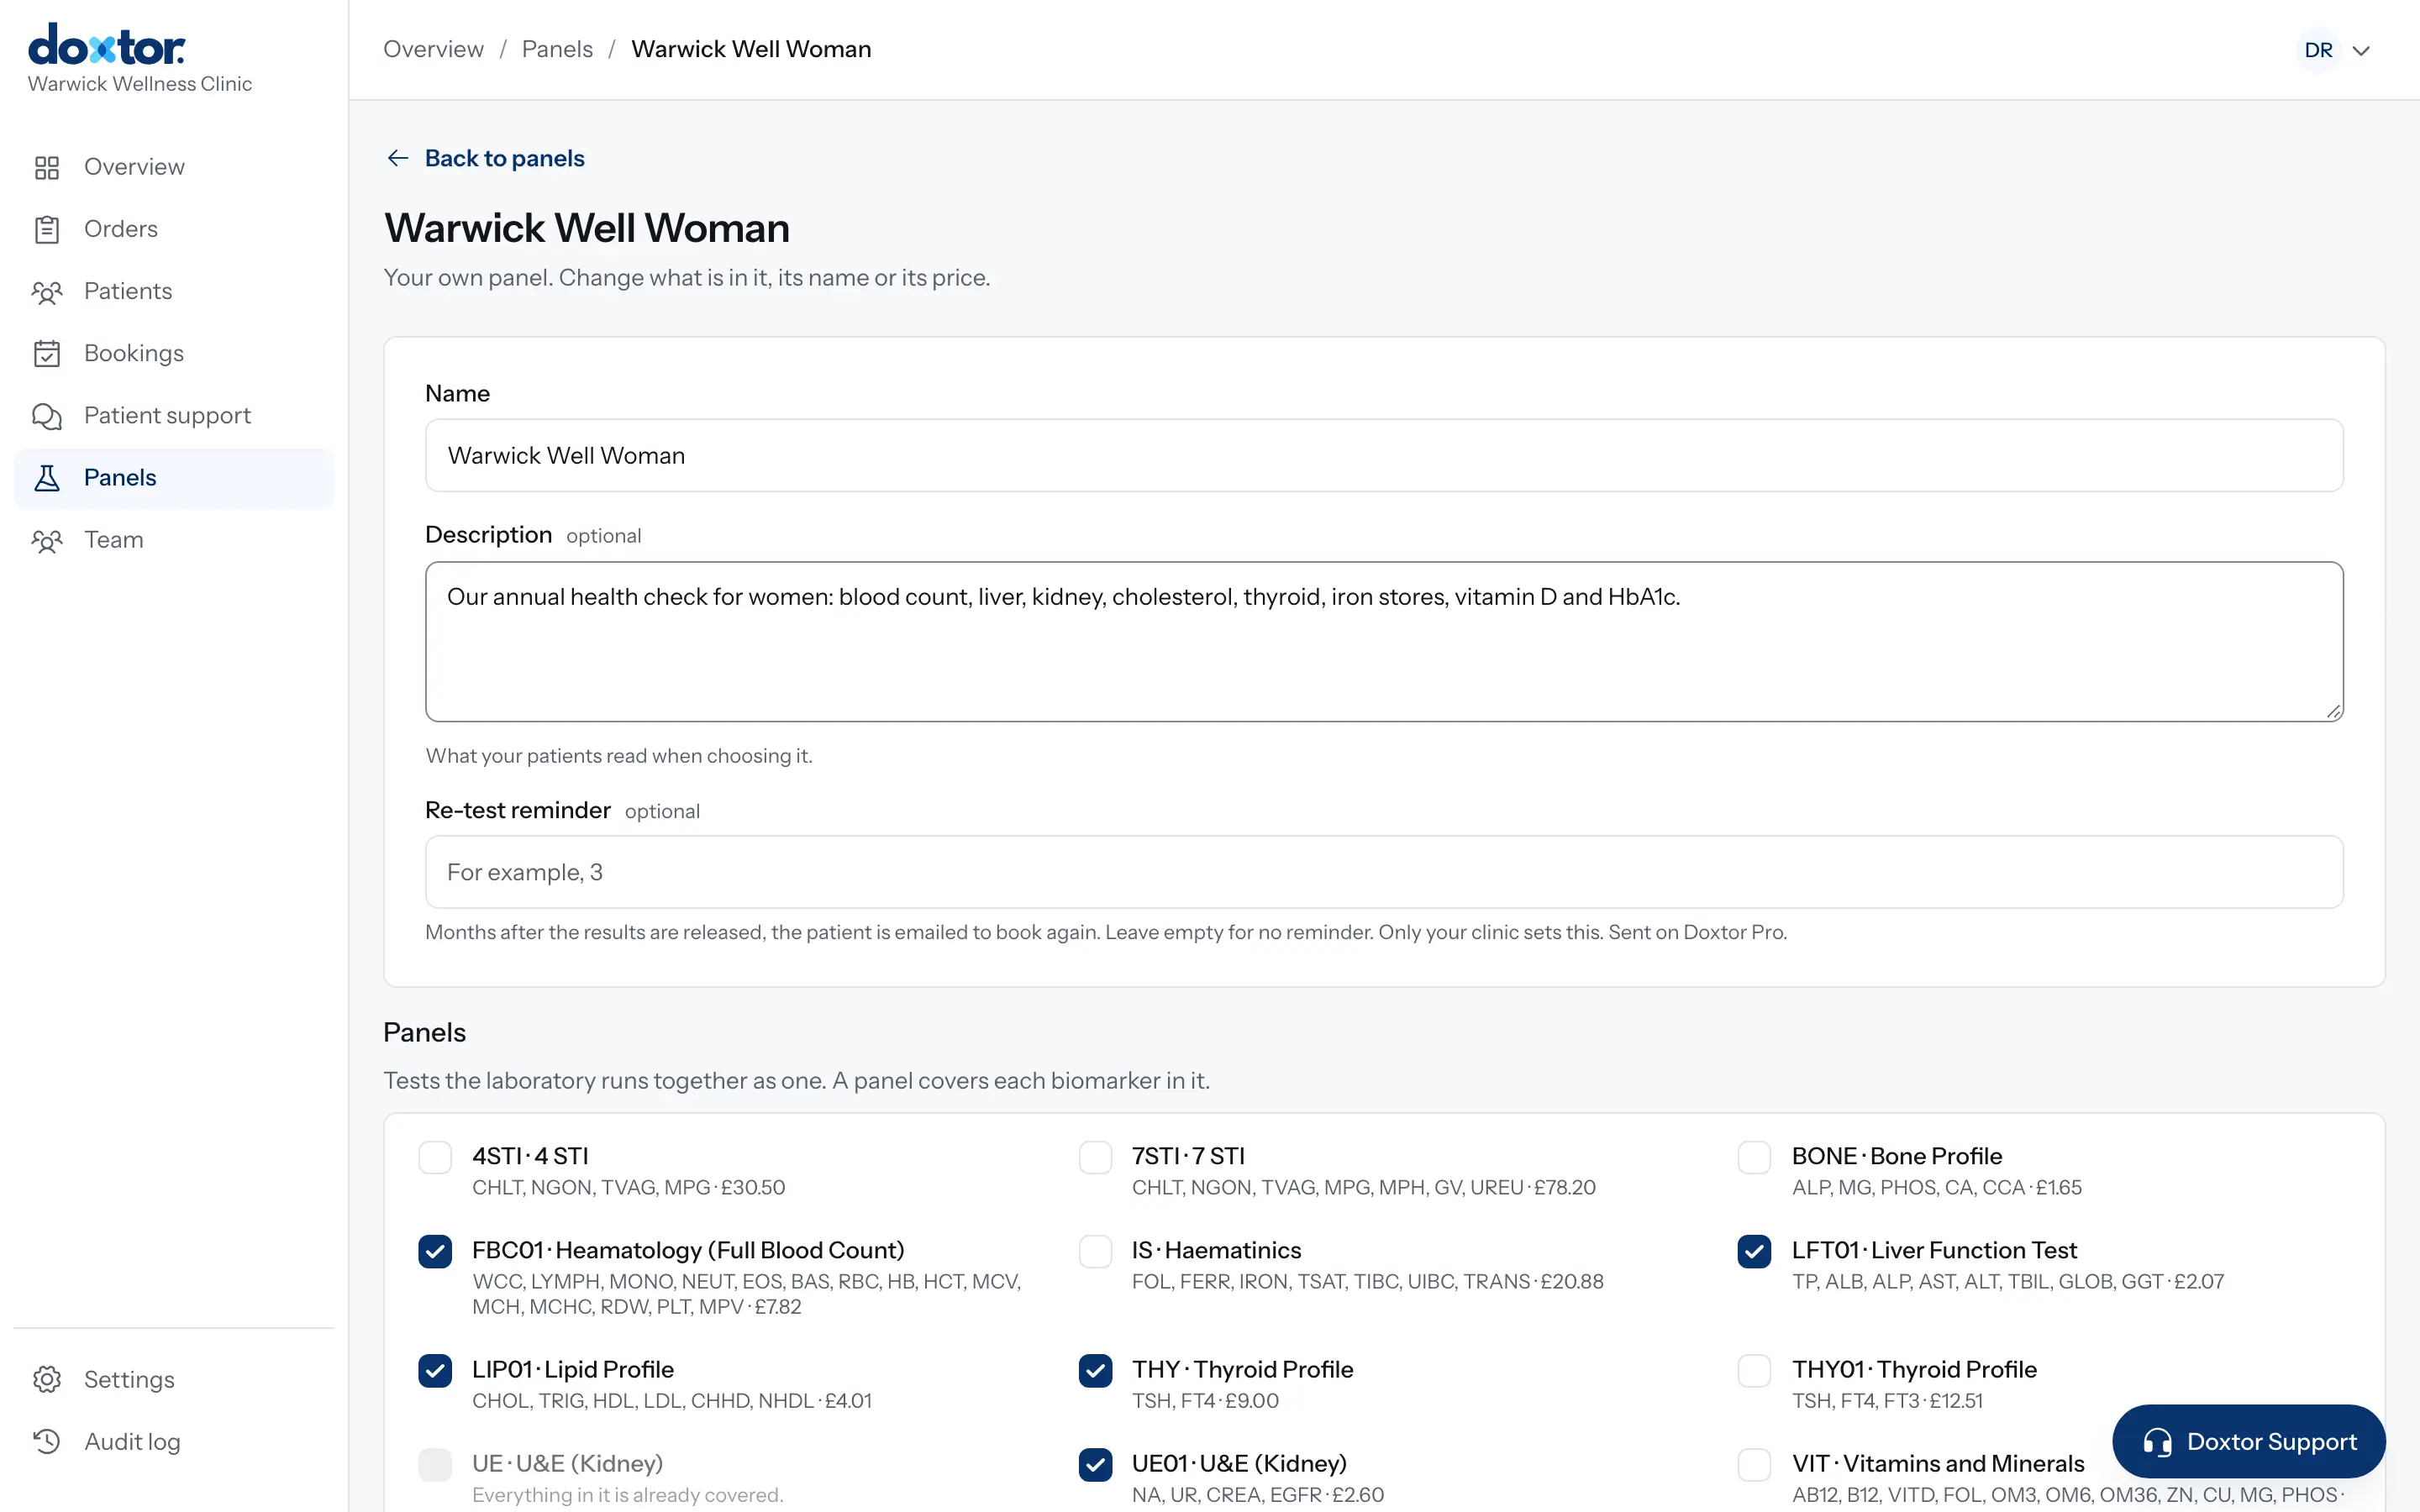
Building your own panels
Put the tests your clinic offers together once, as named panels with a description for patients, and order them in one click from then on.
1 min read
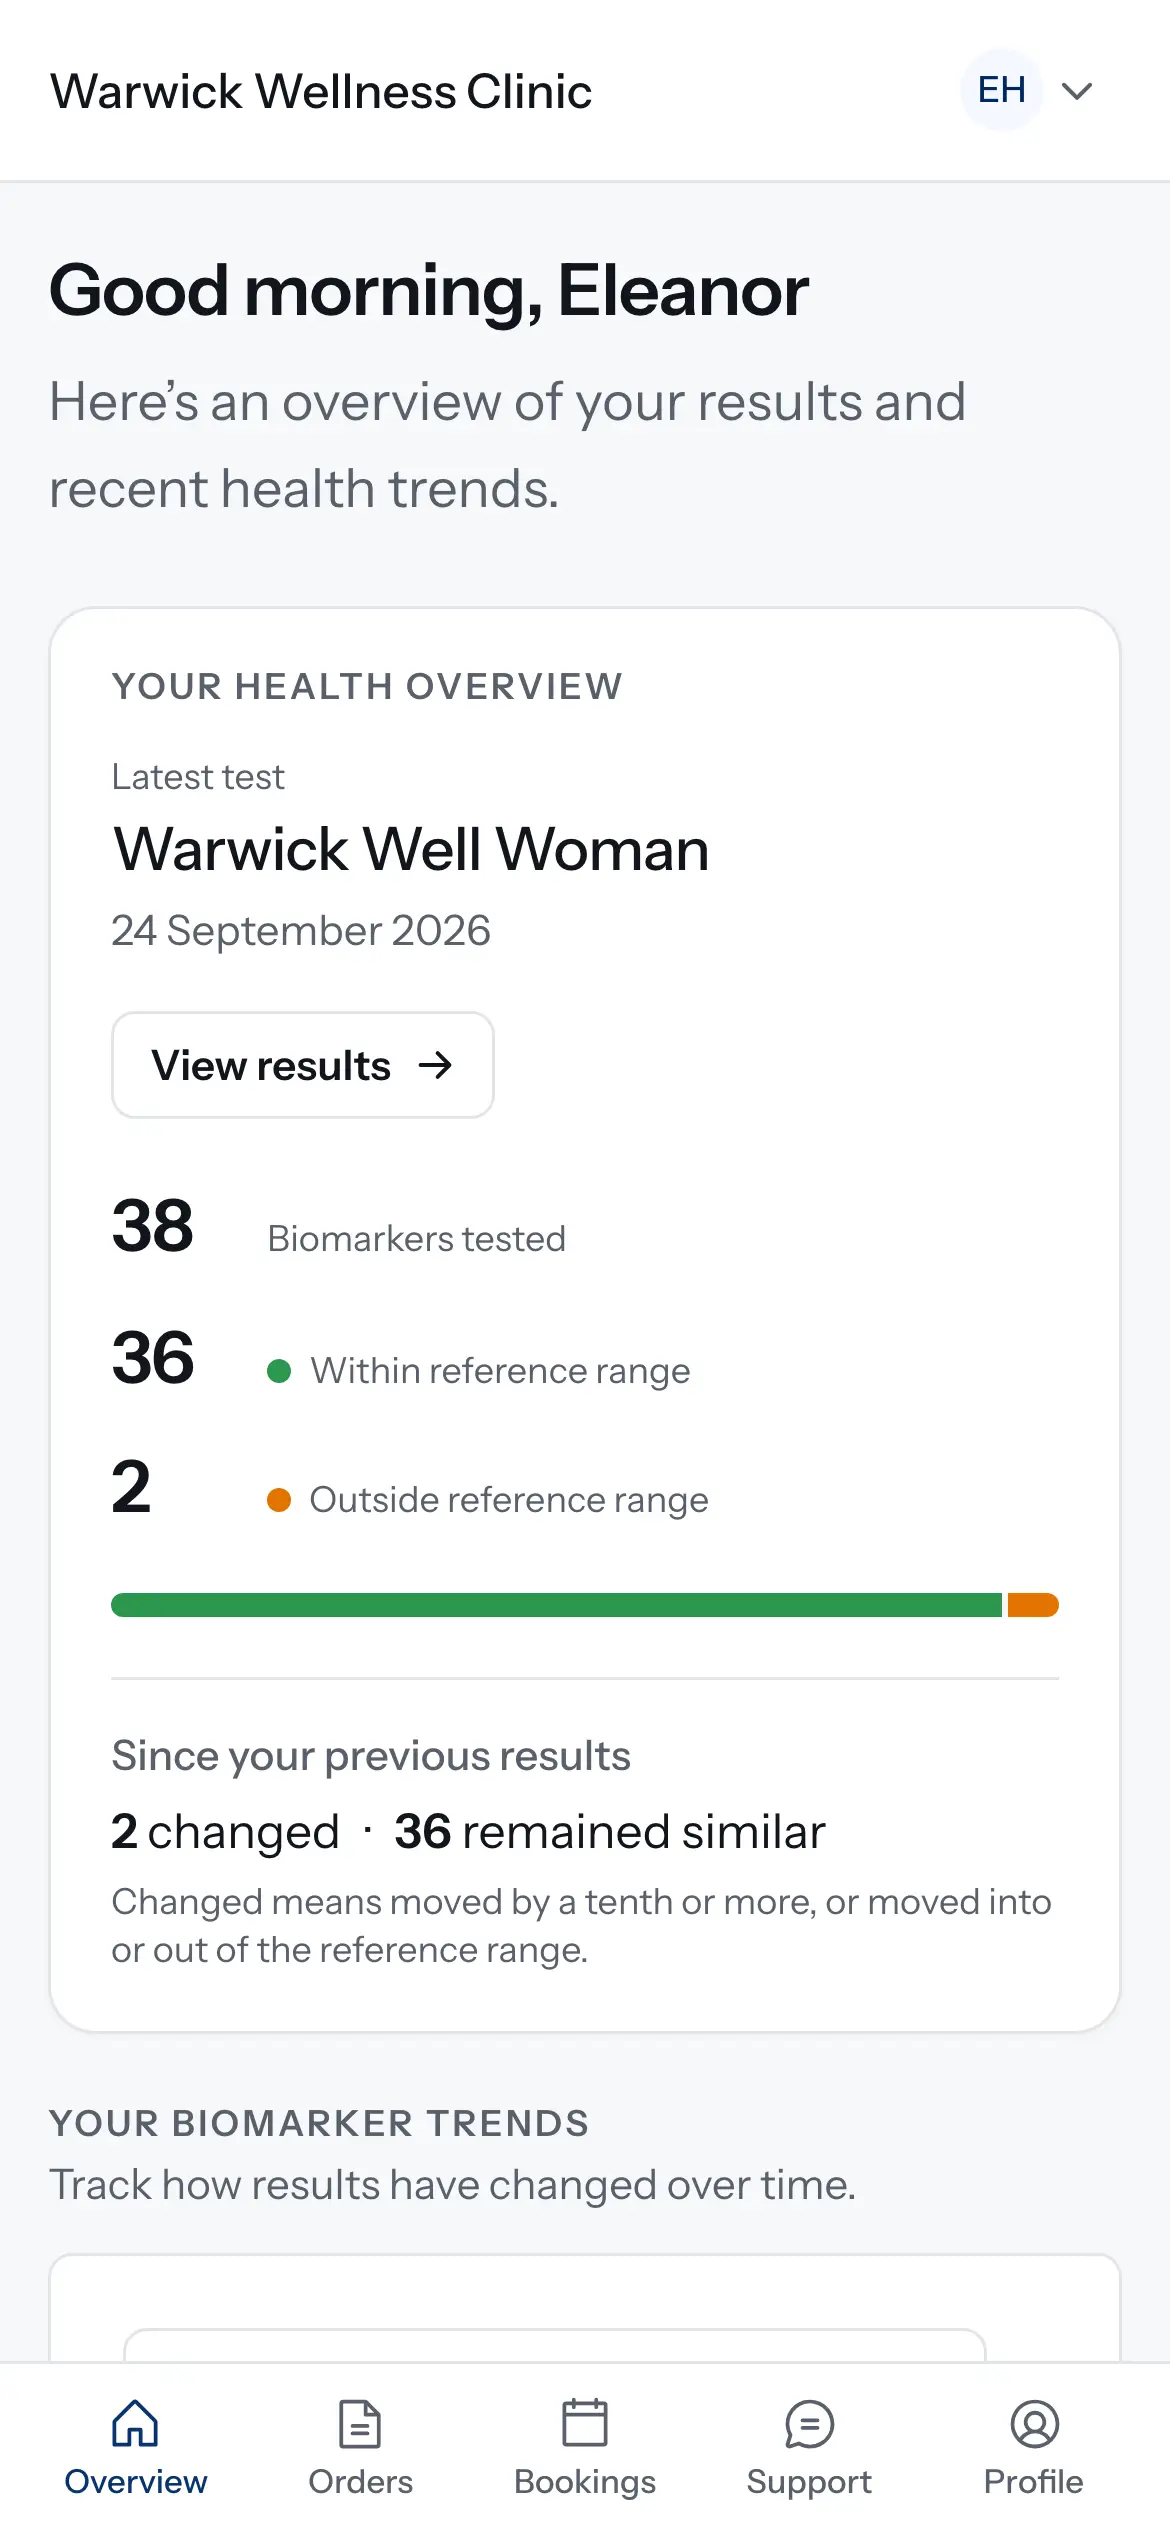
Giving patients access to the patient portal
Invite a patient, or a parent or carer, to your clinic's patient portal, decide whether they can book tests, and take access away when it should end.
1 min read